Tuesday, January 10, 2012

Birthday Dress!


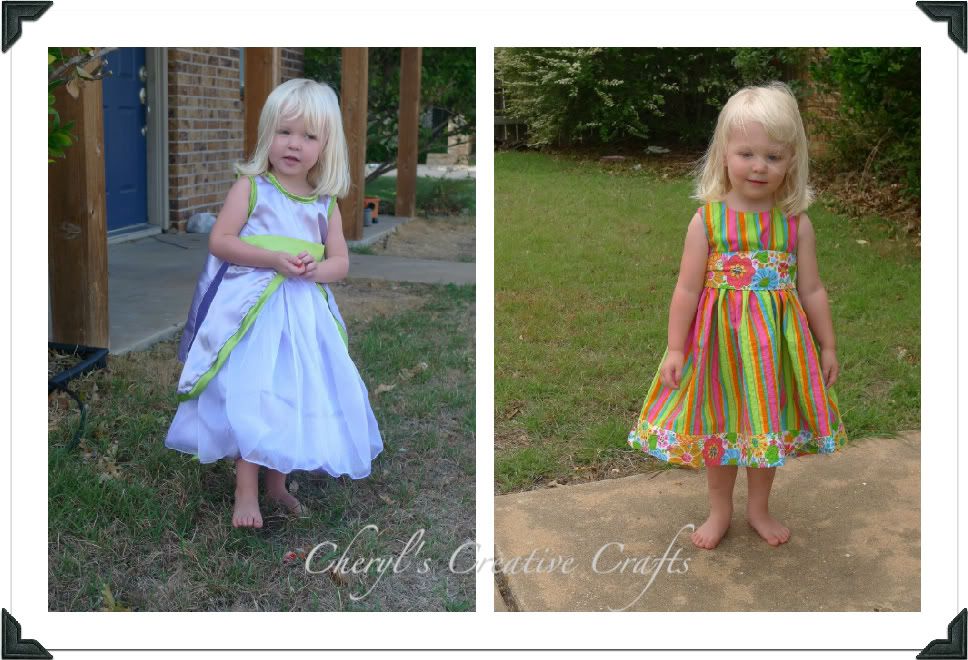
One more thing to knock off of my to-do list, Claire's birthday dress.  I used The Party Dress from The Cottage Home.  If you remember, I used the same pattern to make an Easter Dress and The Princess Pea Costume.  This time I only made a few changes.  I lengthened the dress by a few inches and made the sash a few inches smaller.


Now onto picking out some fabric for her quilt and bedding.

LInking up!

Monday, January 9, 2012

Trip to the Beach! (in January)

What do you do in January in Texas?  Go to the beach and build a Texas Snowman! My husband and daughter did such a great job making her.


Claire has been begging to go to the beach for months now. So we packed up the car  on Friday and drove to my parents who live an hour away from Galveston Beach.  Saturday morning we loaded the dog in the car and drove to the beach.  Claire was so excited:


Here they are making their snowman.


They even went swimming.  I thought it was too cold and wouldn't go in past my ankles.  Claire decided it was so much fun and ended up chest deep.


They had such a great time and slept all the way back to Grandma and Grandpa's house.


Saturday, January 7, 2012

Invites Finished!

If you have been following, you know that I am planning a Car's: The Movie themed party for Claire's 3rd birthday.  Jay and I finally sat down with his schedule so we could set a date for the party.  With a date set I started to make invitations.

One of the easiest programs to make posters, cards, and documents with pictures is Powerpoint. It is great to use with existing images and photos.  Just drag and drop the photos in and insert a few text boxes and you are set.

I set the size of the "slide" as a 5 x 7 so it can easily be printed at Walmart, or your favorite online print shop.  To make it even cheeper, set the size as a standard 4 x 6.

My first attempt was met with a "Where's Mater?" from my daughter.


So I came up with the following option:

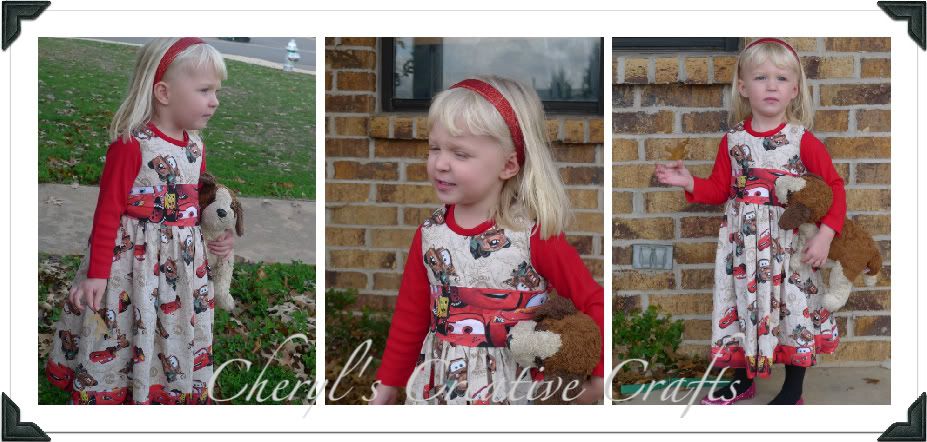
Which one do you like best?  I will have to take another picture of Claire in her birthday dress when it is completed.

Friday, January 6, 2012

Blogger's Choice!

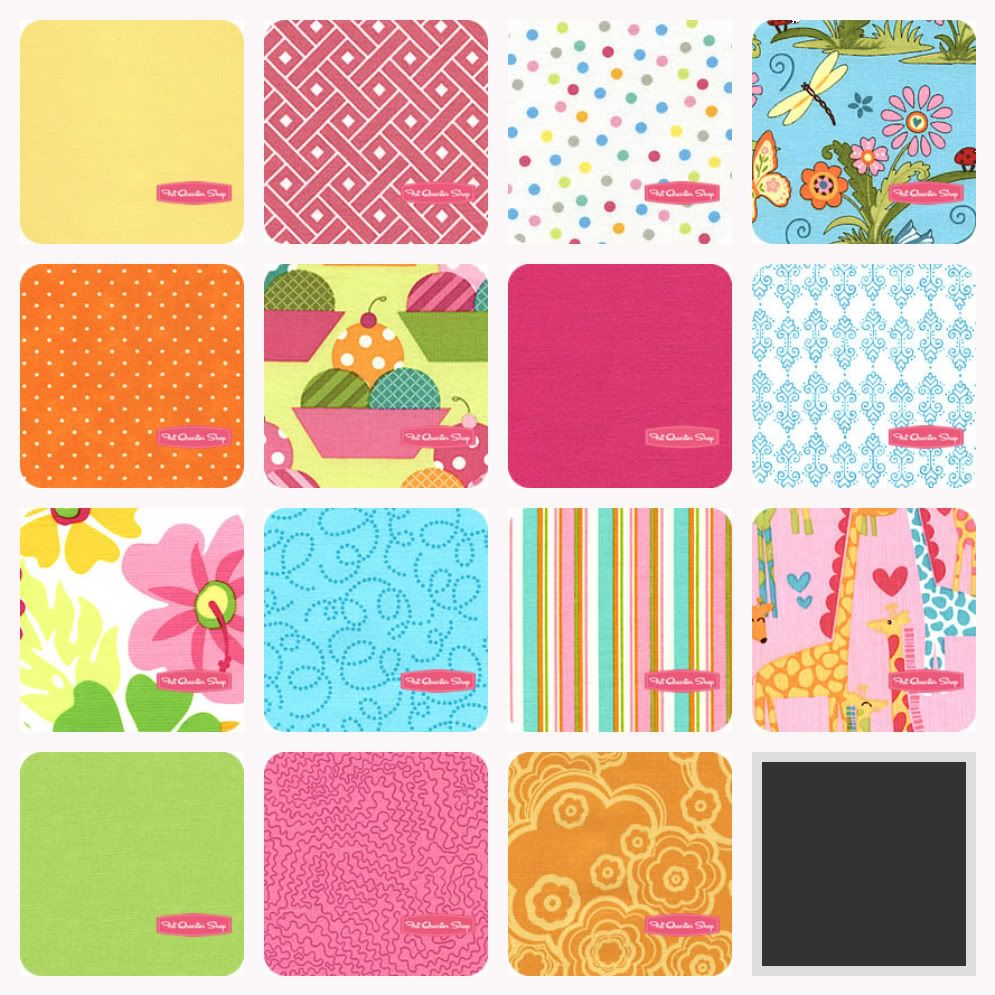
If you have been over to Quokka Quilts you have seen a giveaway with The Fat Quarter Shop.  The Fat Quarter Shop is offering a whole half yard of 15 fabrics of your choice, 12 prints and 3 solids.

So, after much deliberation I give you my blogger's choice:


I am in love with the mix of bright colors and fun prints.  If you have a chance go to Quokka Quilts and enter in your own bundle.

Thursday, January 5, 2012

Announcing the Opening of my new shop!

Do you have too many t-shirts that mean so much to you and you can't get rid of them?  If you do, check out my new custom made t-shirt quilt shop, Classic Memory Quilts.

After making my husband's t-shirt quilt and seeing his reaction, I am opening my own business to make more.  Please check out my shop, join my Facebook page and get the word out.  If you know anyone who would like a quilt please refer me.


Wednesday, January 4, 2012

Claire's 3rd Birthday Party!


It is time to start planning and creating items for Claire's Cars themed birthday party.  I have about 6 weeks to complete my list!

My list keeps growing:

Quilt/Sheet Set (gift)

Invitations

Placemat

Birthday Bunting:

Party Dress:

Tuesday, January 3, 2012

Christmas Quilt

Earlier this December I completed a Christmas quilt for Claire.  It is a small crib size/toddler quilt.  I took pictures of my process and I wanted to share it with you.  This small quilt can be completed with any theme in mind, just by a jelly roll that you love.


I used one Moda Jelly roll in Jovial, 2 yards for the back, and batting.

Instructions:

1. The first thing I did was group by color ways: red, blue, green, white, and black.

2. Next, I took out four strips I wanted to use as binding and set them aside for later.

3. Now to cut.  For each color way, I made six blocks.  So I need 24, 8.5 inch strips of each color.

4.  Designing the blocks.  I randomly took four strips from each color way and grouped them together.  I made sure I didn't have repeats of the fabric in a block.

5. Sewing, finally!.  I took two of the strips and sewed them together.  To save thread, I chain stitched the blocks.

6.  Press the seams open.


 7. Stack up two of your half blocks and sew them together.  I chain stitched these as well to save time and thread.


 8.  Press open your blocks and now you should have six blocks in each color way for a total of 30 blocks.


Here is where I stopped taking pictures, however I will do my best to explain how I finished up the quilt.

9.  Square up your blocks.  Each block should be roughly, 7.5 inches.

10. Layout your quilt. While laying out the blocks, rotate each block to look like the picture below.


11.  Piece together the top.  I sewed the blocks into rows, then sewed the rows together.

12.  Now for the quilt sandwich.  I laid down the backing (face down), then the quilt batting, then the top.

13.  Quilt your top.  I hand tied this quilt in the corners, where the blocks meet.

14.  Bind your quilt using your leftover jelly roll strips.  I love the Distant Pickles binding tutorial and pull it up every time I need to bind a quilt.

Enjoy your finished quilt!


LinkWithin

Related Posts Plugin for WordPress, Blogger...